English
Gitea + Jenkins CI/CD
I also spent a whole day tinkering with this, so now let me write a tutorial; the environment used for the tutorial is the Server edition of Ubuntu 24.
You need at least 4 GB of memory, otherwise don't even bother; a 2-core 2 GB machine will not run it.
Once you have the initial environment, it's the usual pair of commands.
bash
sudo apt update && apt upgradeInstalling natively is too much hassle, so for convenience we will install it with the 1Panel dashboard.
bash
sudo bash -c "$(curl -sSL https://resource.fit2cloud.com/1panel/package/v2/quick_start.sh)"Then comes the well-loved dashboard installation process, which I'll skip and fast-forward to the dashboard being installed and the service started.
bash
[1Panel Log]: 正在启动 1Panel 服务
[1Panel Log]: 1Panel 服务已成功启动,正在继续执行后续配置,请稍候...
[1Panel Log]:
[1Panel Log]: =================感谢您的耐心等待,安装已完成==================
[1Panel Log]:
[1Panel Log]: 请使用您的浏览器访问面板:
[1Panel Log]: 外部地址:  http://113.17.214.172:41478/seven
[1Panel Log]: 内部地址:  http://192.168.37.128:41478/seven
[1Panel Log]: 面板用户:  seven
[1Panel Log]: 面板密码:  seven777
[1Panel Log]:
[1Panel Log]: 官方网站: https://1panel.cn
[1Panel Log]: 项目文档: https://1panel.cn/docs
[1Panel Log]: 代码仓库: https://github.com/1Panel-dev/1Panel
[1Panel Log]: 前往 1Panel 官方论坛获取帮助: https://bbs.fit2cloud.com/c/1p/7
[1Panel Log]:
[1Panel Log]: 如果您使用的是云服务器,请在安全组中打开端口 41478
[1Panel Log]:
[1Panel Log]: 为了您的服务器安全,离开此屏幕后您将无法再次看到您的密码,请记住您的密码。
[1Panel Log]:
[1Panel Log]: ================================================================Then we just open this internal address in a browser on our own computer: http://192.168.37.128:41478/seven
Next, we just install the following software from the 1Panel app store.
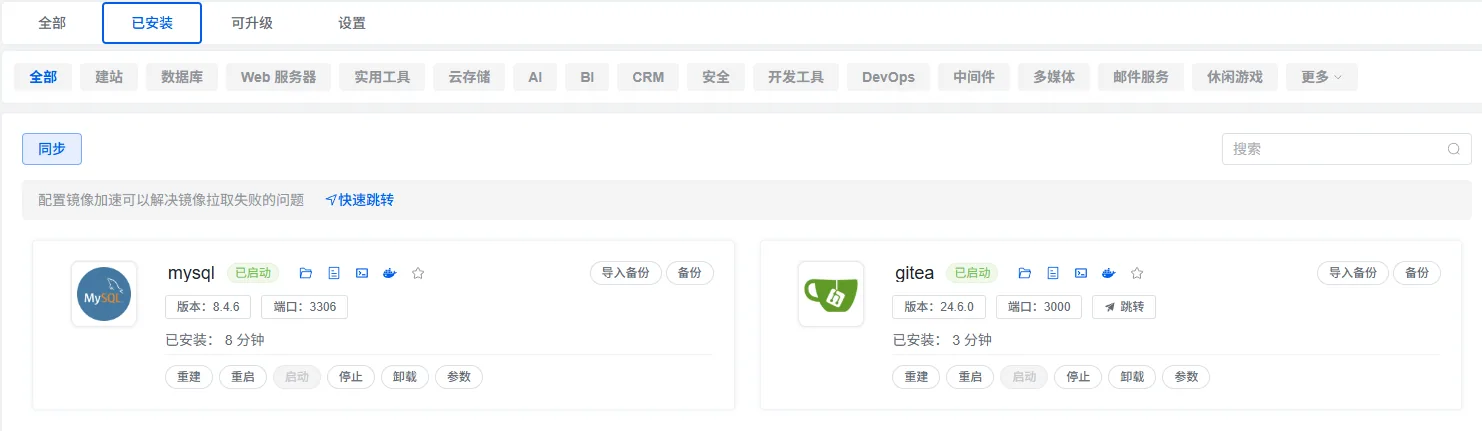
Then for Jenkins, we will not install it from the 1Panel app store here.
In theory it is entirely feasible — you just need to set the mounted directory — but it is a bit of a hassle, so we will use the native installation method here.
So let's go to the official Jenkins website, look at the installation instructions, and find the Ubuntu installation part.
Note that we need to install OpenJDK first, because installing Jenkins requires a Java environment.
I'll pick version 17 here, because that is what my own project runs on.
bash
sudo apt install fontconfig openjdk-17-jre
java -versionbash
cmcy@cmcy:~$ java -version
openjdk version "17.0.16" 2025-07-15
OpenJDK Runtime Environment (build 17.0.16+8-Ubuntu-0ubuntu124.04.1)
OpenJDK 64-Bit Server VM (build 17.0.16+8-Ubuntu-0ubuntu124.04.1, mixed mode, sharing)OpenJDK 17 is installed successfully, so let's continue installing Jenkins.
bash
sudo wget -O /etc/apt/keyrings/jenkins-keyring.asc \
  https://pkg.jenkins.io/debian-stable/jenkins.io-2023.key
echo "deb [signed-by=/etc/apt/keyrings/jenkins-keyring.asc]" \
  https://pkg.jenkins.io/debian-stable binary/ | sudo tee \
  /etc/apt/sources.list.d/jenkins.list > /dev/null
sudo apt update
sudo apt install jenkinsThis is copied from the official website as shown below, don't say I'm lying to you.
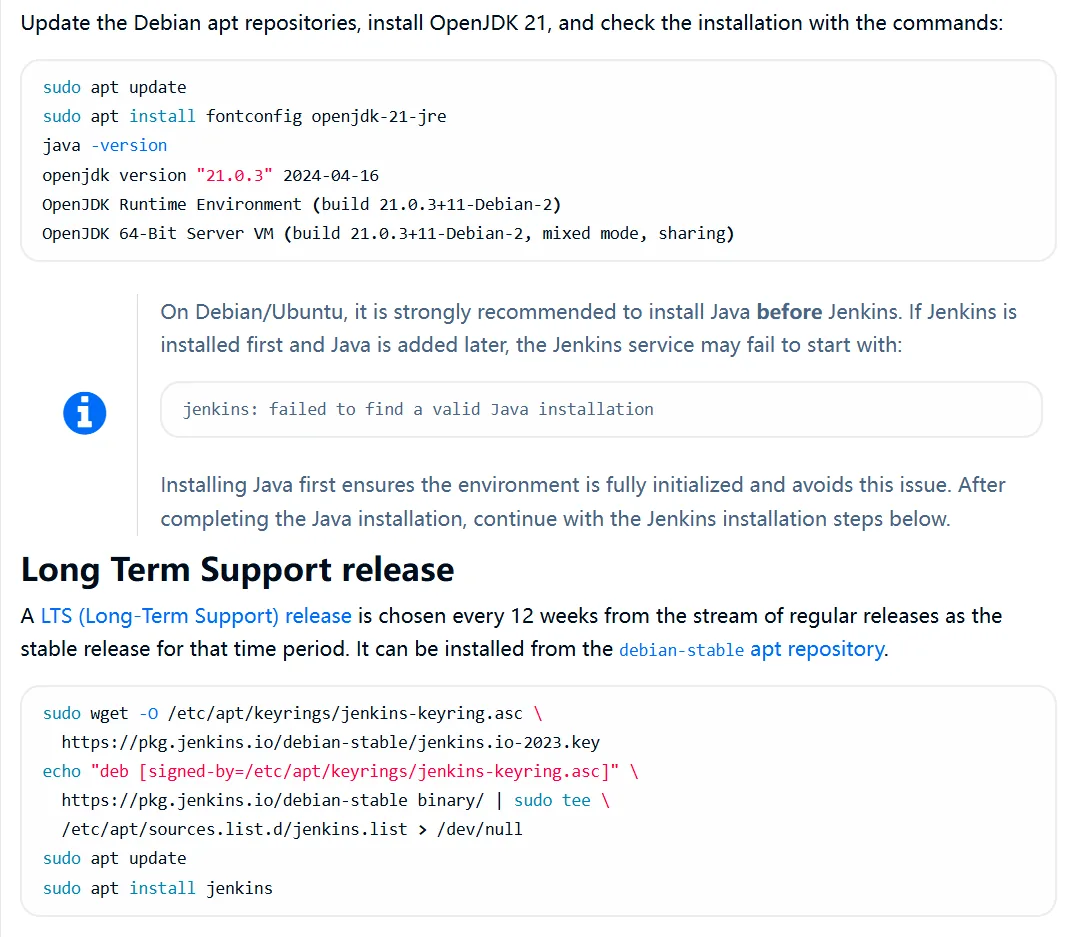
By default the port is 8080, so we just go to port 8080 to check.
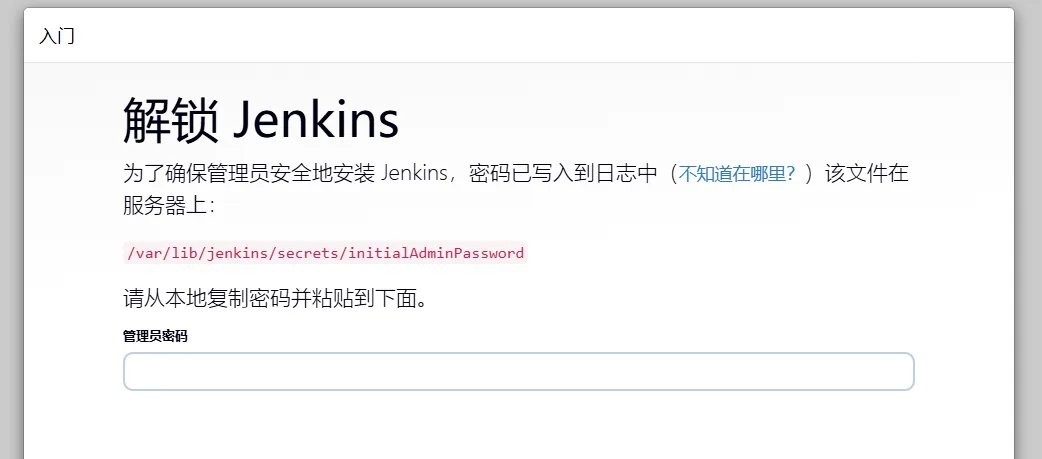
Then we go to System / File Management in the 1Panel dashboard to see what the password actually is.
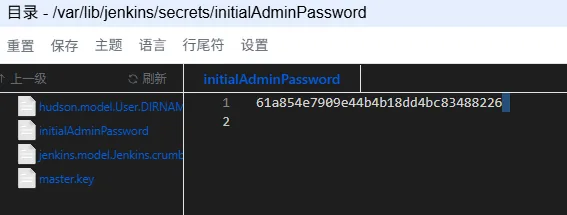
Then just copy and paste it in.
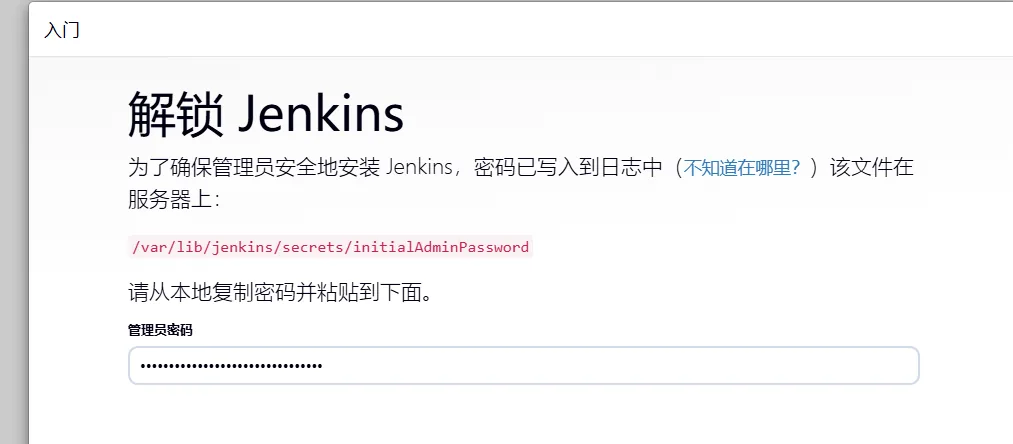
Just click Continue, and then install the recommended plugins, because I don't know exactly which plugins are needed either.
That's right, since this is my first time doing it I don't understand it much either, so let's just honestly wait for the installation to finish.
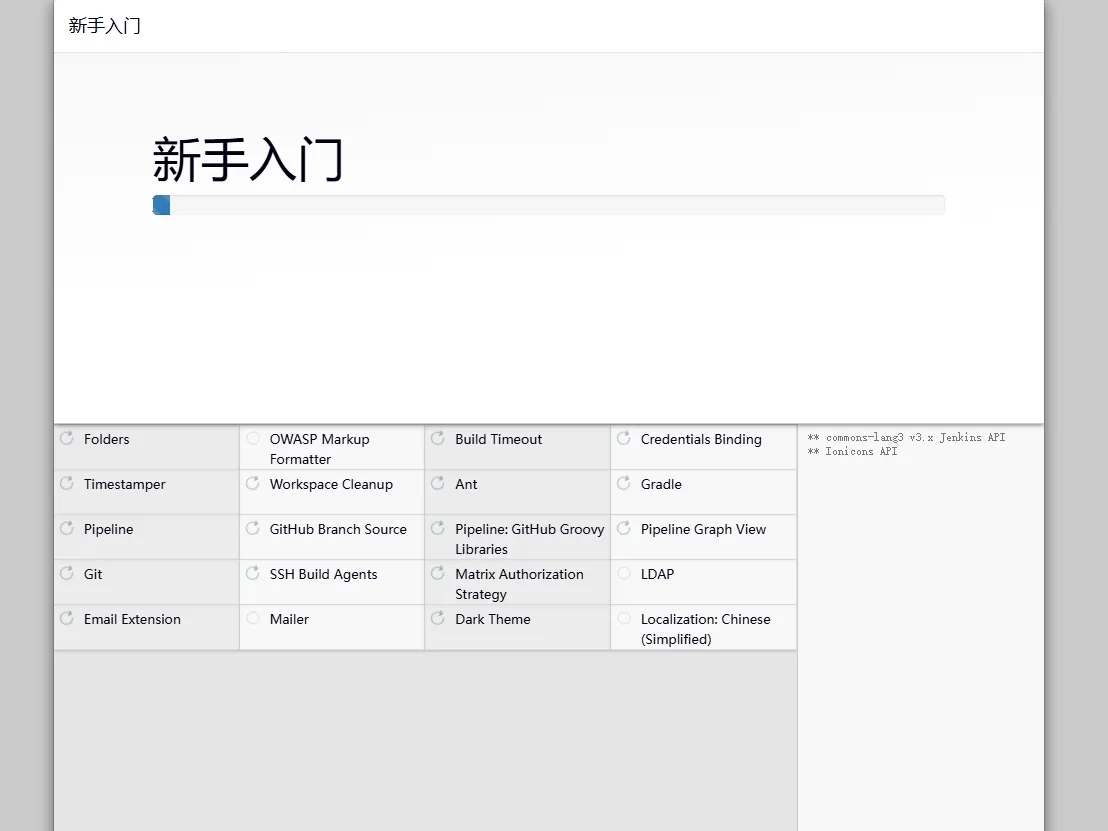
Then after you fill in your basic information, you will arrive at the Jenkins web page.